Hey, thank you so much for being here with us today!
We couldn’t be happier to see you here with us each time, soaking up all this information & the details we delve in always!
We would sincerely like to thank you for your constant love & support!
So,
Are you unsure about when to order your wedding invitations & stationery?
or
When should your wedding invitations be mailed out?
or perhaps
Are you wondering on the ideal time to send out your thank you cards?
Worry not, as we have got all these questions covered for you here today!
We are always questioned on how many “months” in advance should the process begin, or how many “weeks” post the wedding shall we send out the thank you cards?
But we completely know & understand that these “ideal months” or “ideal weeks” may not work for every couple, especially with Indian weddings, where dates are sometimes fixed as close to 2 months prior to the actual wedding day! Yes guys, this does happen very often!
So today we’re going to take you through a stepwise flow where we have included for you a 11 steps sequential outline on what to begin with first & what to end with.
So let’s begin!
Also do visit our ‘Etsy Shop‘ for DIY Save the dates, Invitations & Stationery Templates that are available for quick edits and instant downloads:
Please click here : https://www.etsy.com/in-en/shop/CustomizingDIY
Step 1 : Get basic clarity on what you want to achieve for the overall look & feel
Having a bit of a vision or a mood board will save you the hassle of the back & forth, especially if you don’t have much time on hand.
Even if you do have the time, having a design brief makes things a lot easier for you as well as for the designer.
For further information on this, read our blog post on how to create your design brief.

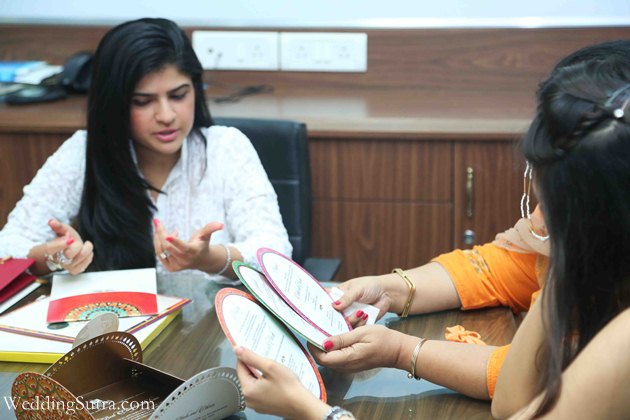
Step 2 : Meet your designer & get going with ideas & designs
Now that you know what you want to achieve in terms of overall look & feel, meeting the designer can get the ball rolling for you in terms of ideation & getting to know the designer’s thoughts as per your brief.
For further information on this, you may want to go through our blog posts on what answers to have ready before you meet your invitation designer & how to meet your dream invitation designer.
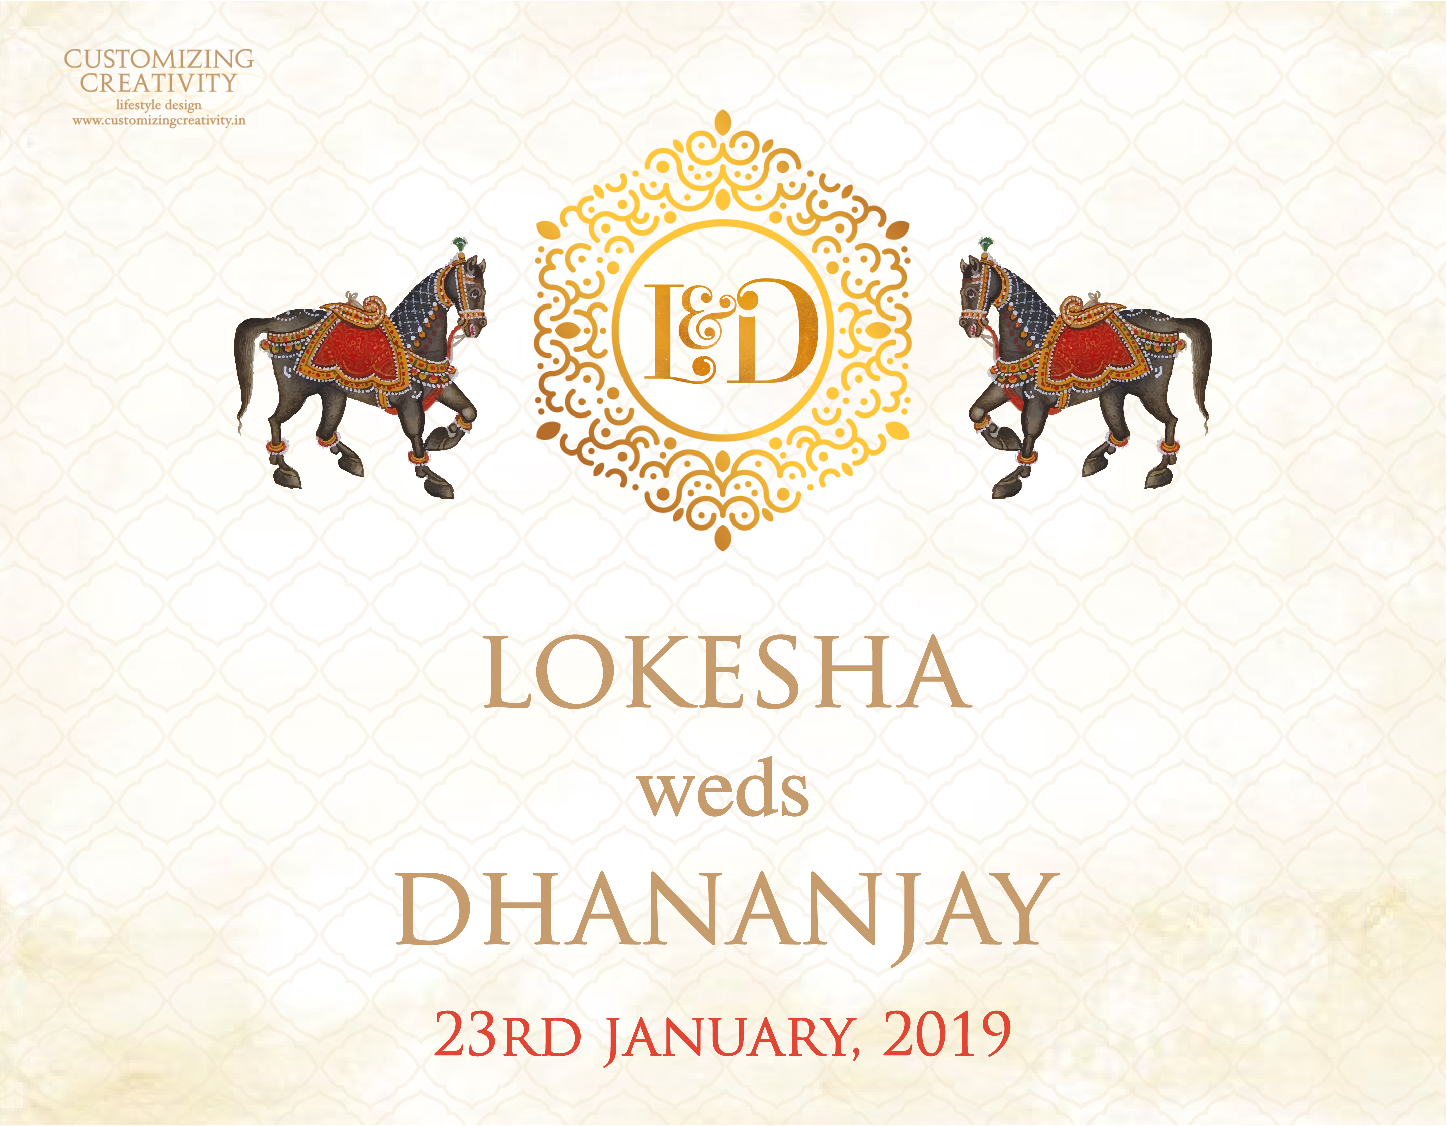
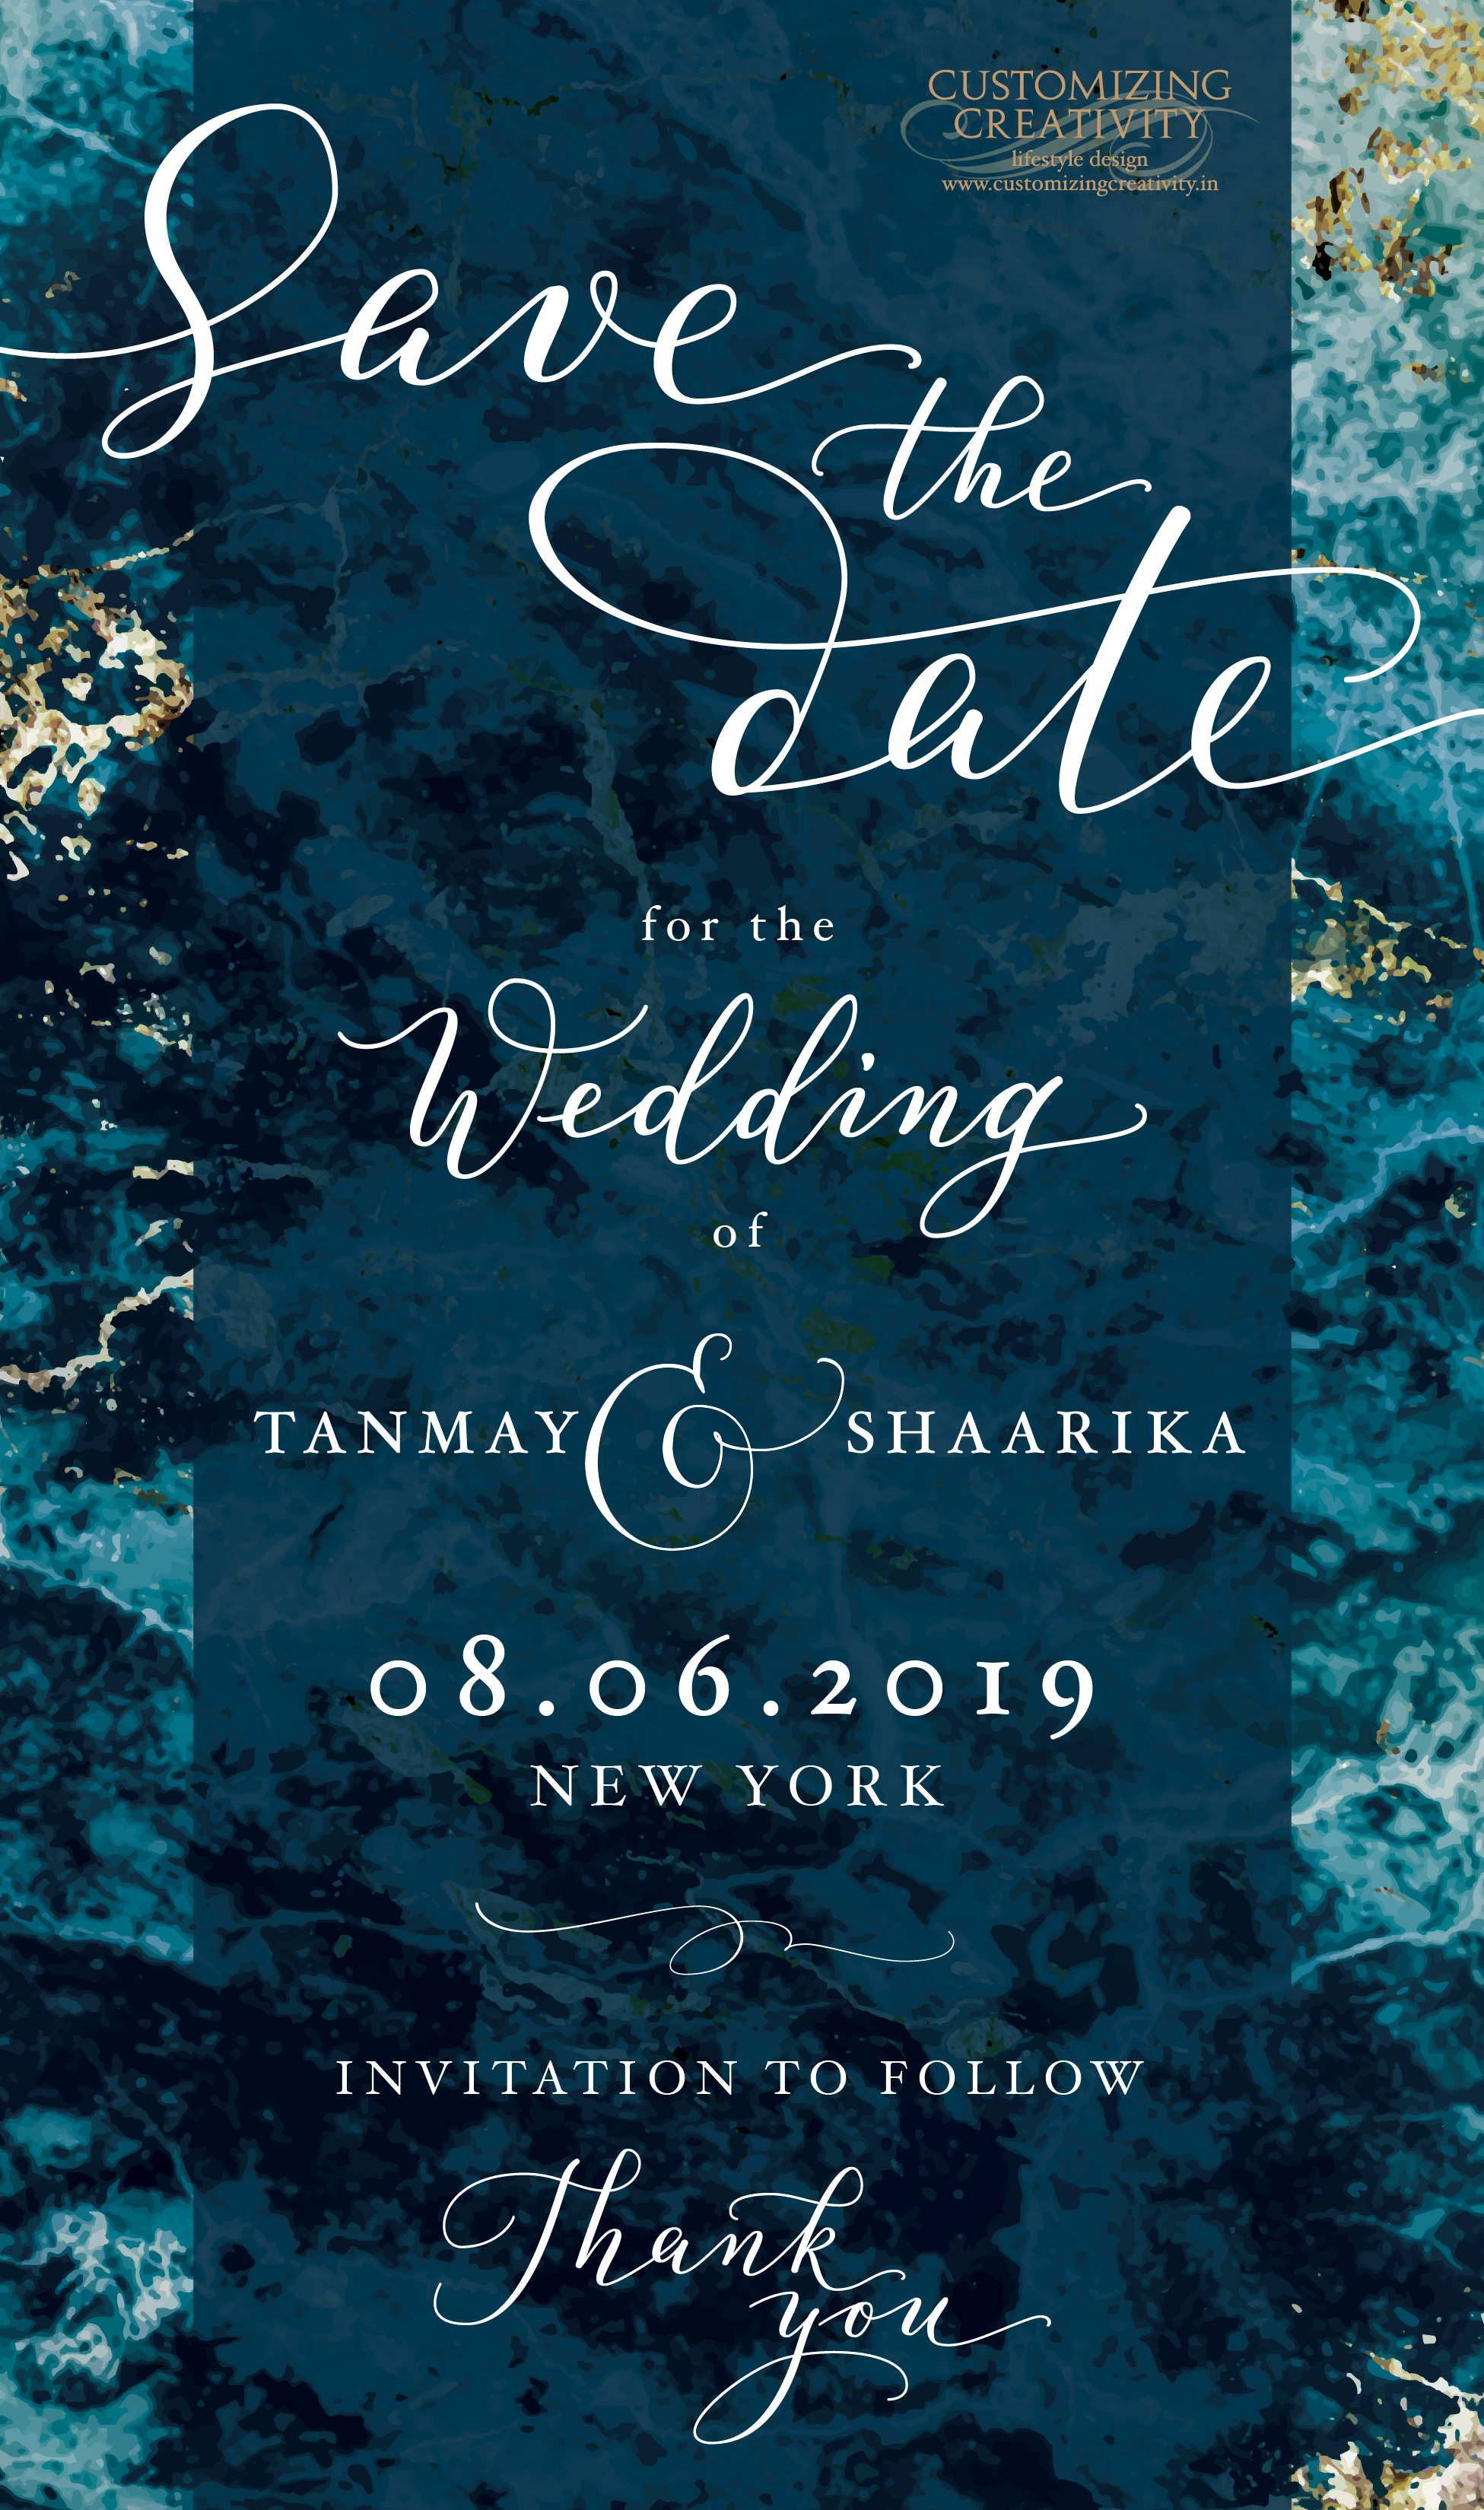
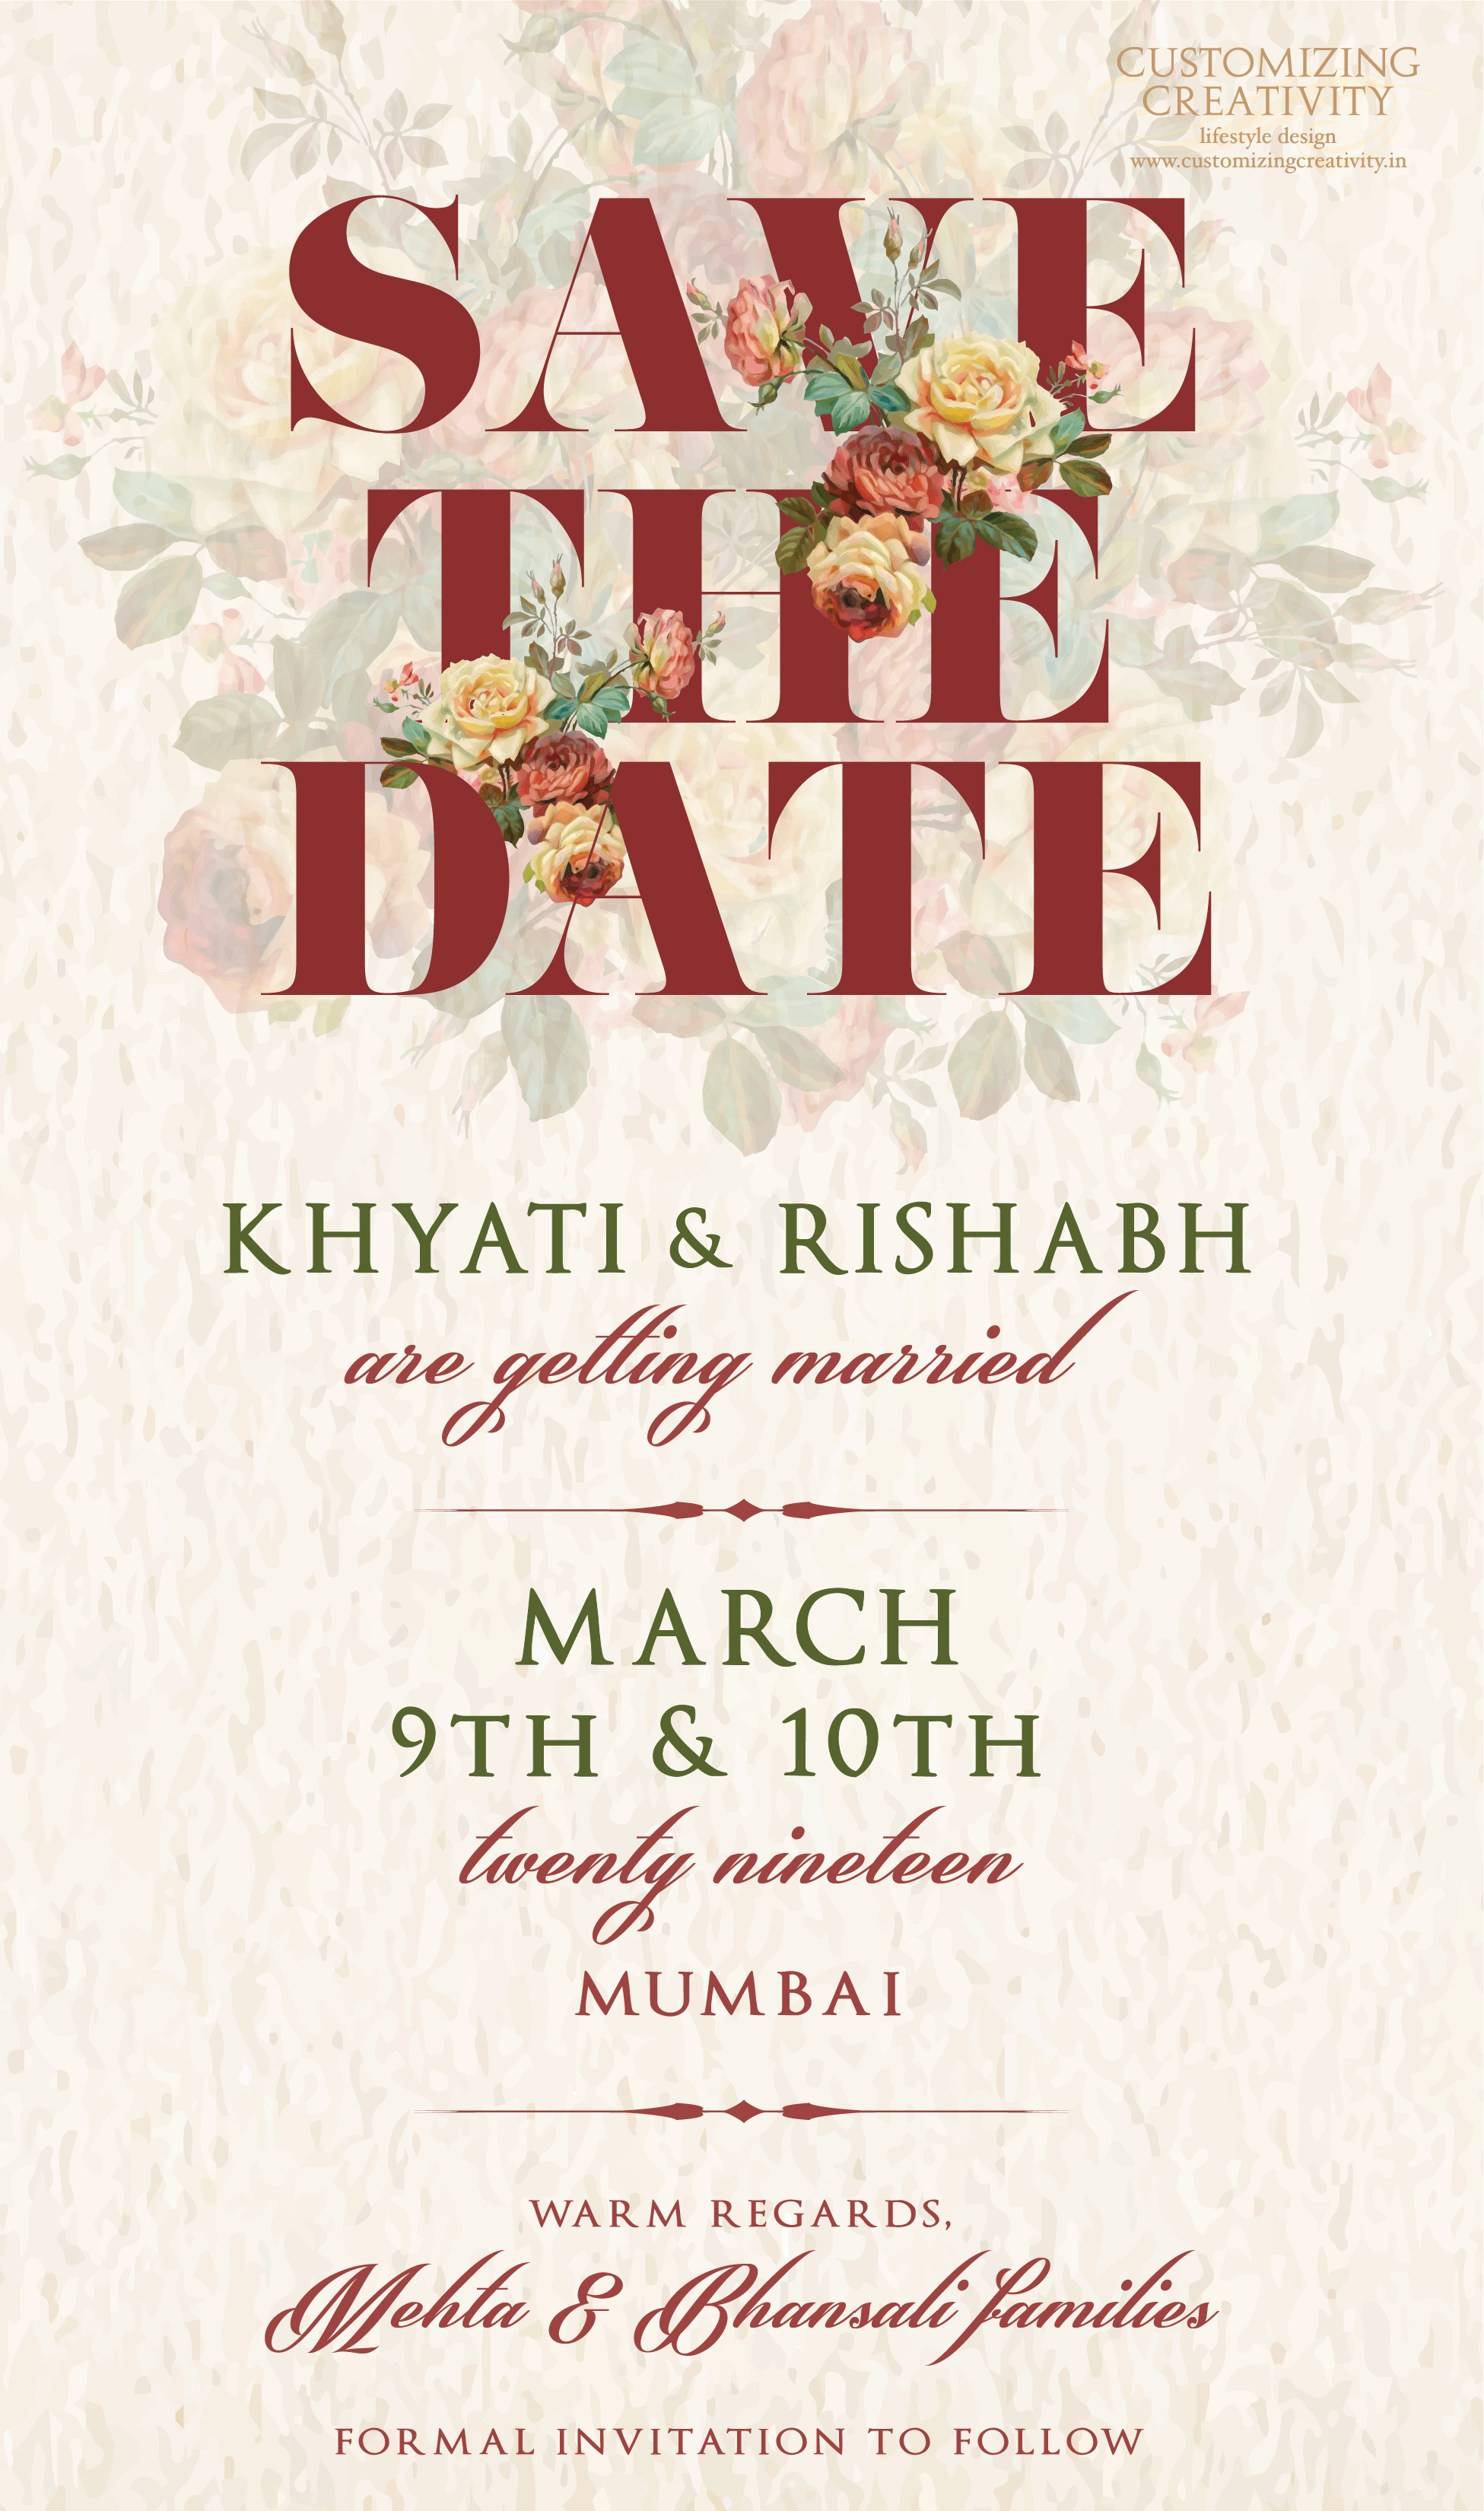
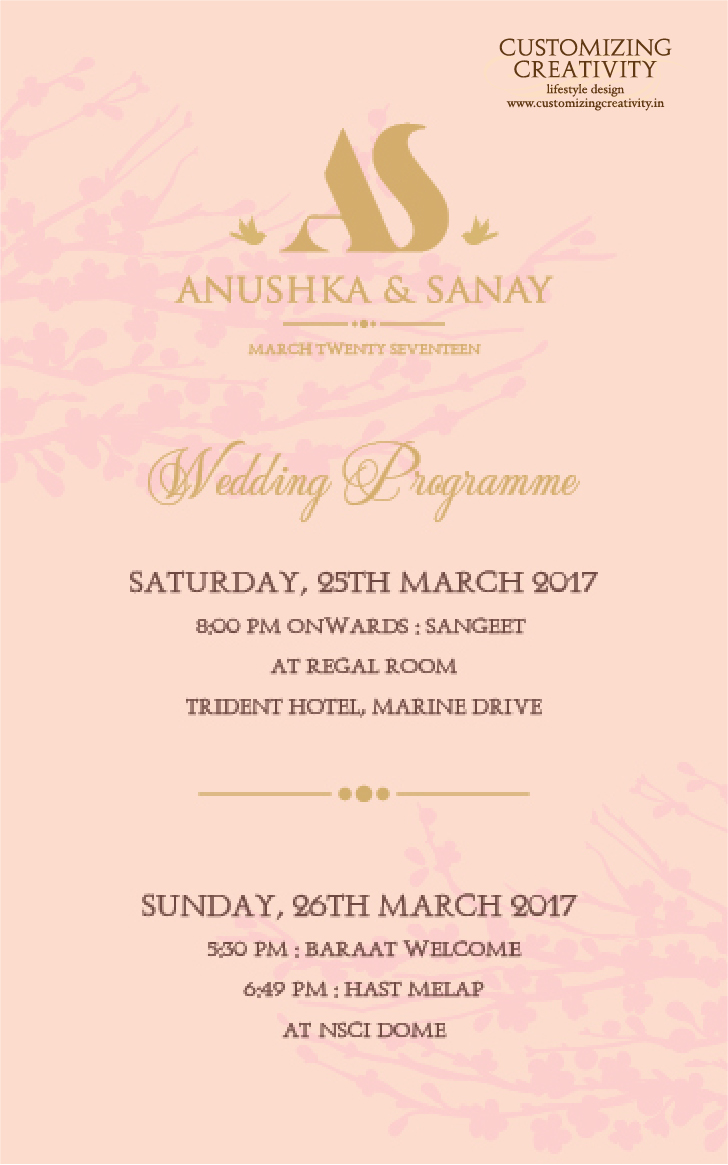
Step 3 : Get cracking with the Save the Date & Wedding Monogram / Logo
As soon as you have decided the right invitation designer for you, begin working on the Save the Date or the Wedding monogram / logo if you need it.
This would ideally be your first step into putting ideas to paper & getting visuals & artworks on what the whole idea is shaping up like!
Read more about Save the Dates & Wedding monograms in our blog posts
Step 4 : Make your guest list
While your Save the Date & Wedding logo designs are underway, the best thing for you to do is to simultaneously work on your function-wise invitation guest-list.
This will not only prep you up on the number of invitations you need to print, but will guide you how many guests you need to courier or ship or e-mail invites to.
Once you have sent out your Save the Dates, your guests are likely to RSVP you & your list can further get crystallised.
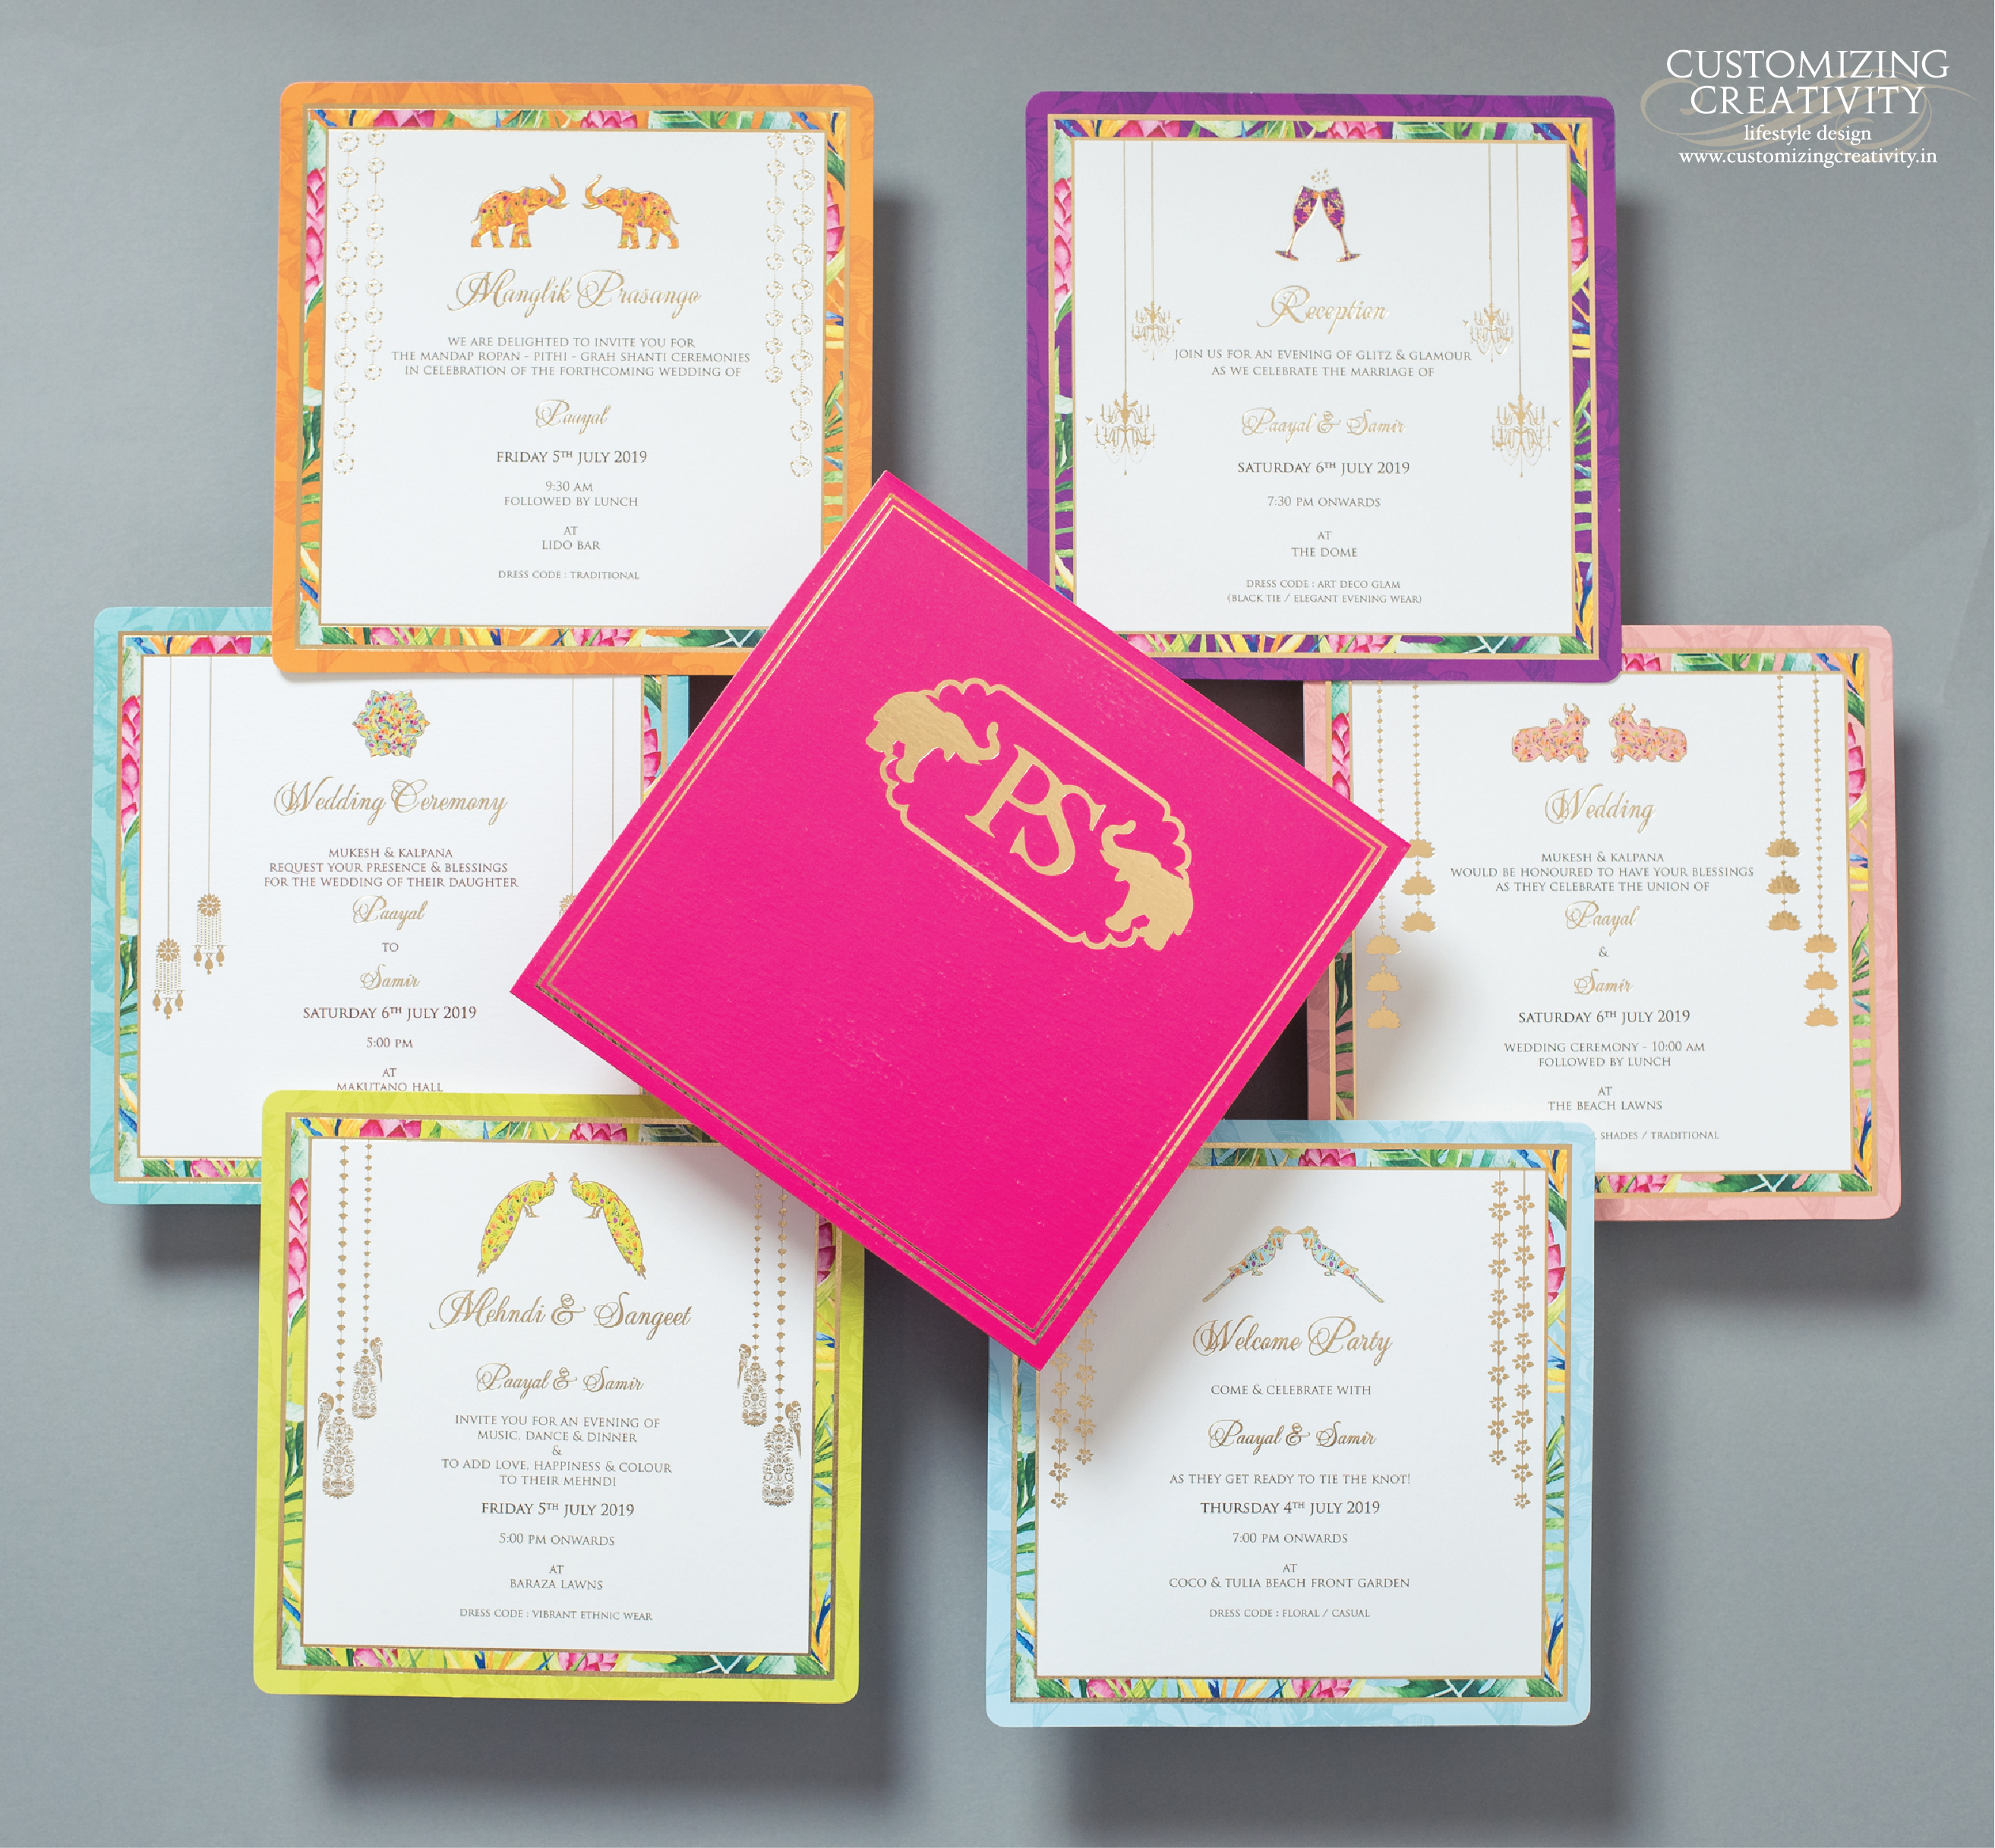
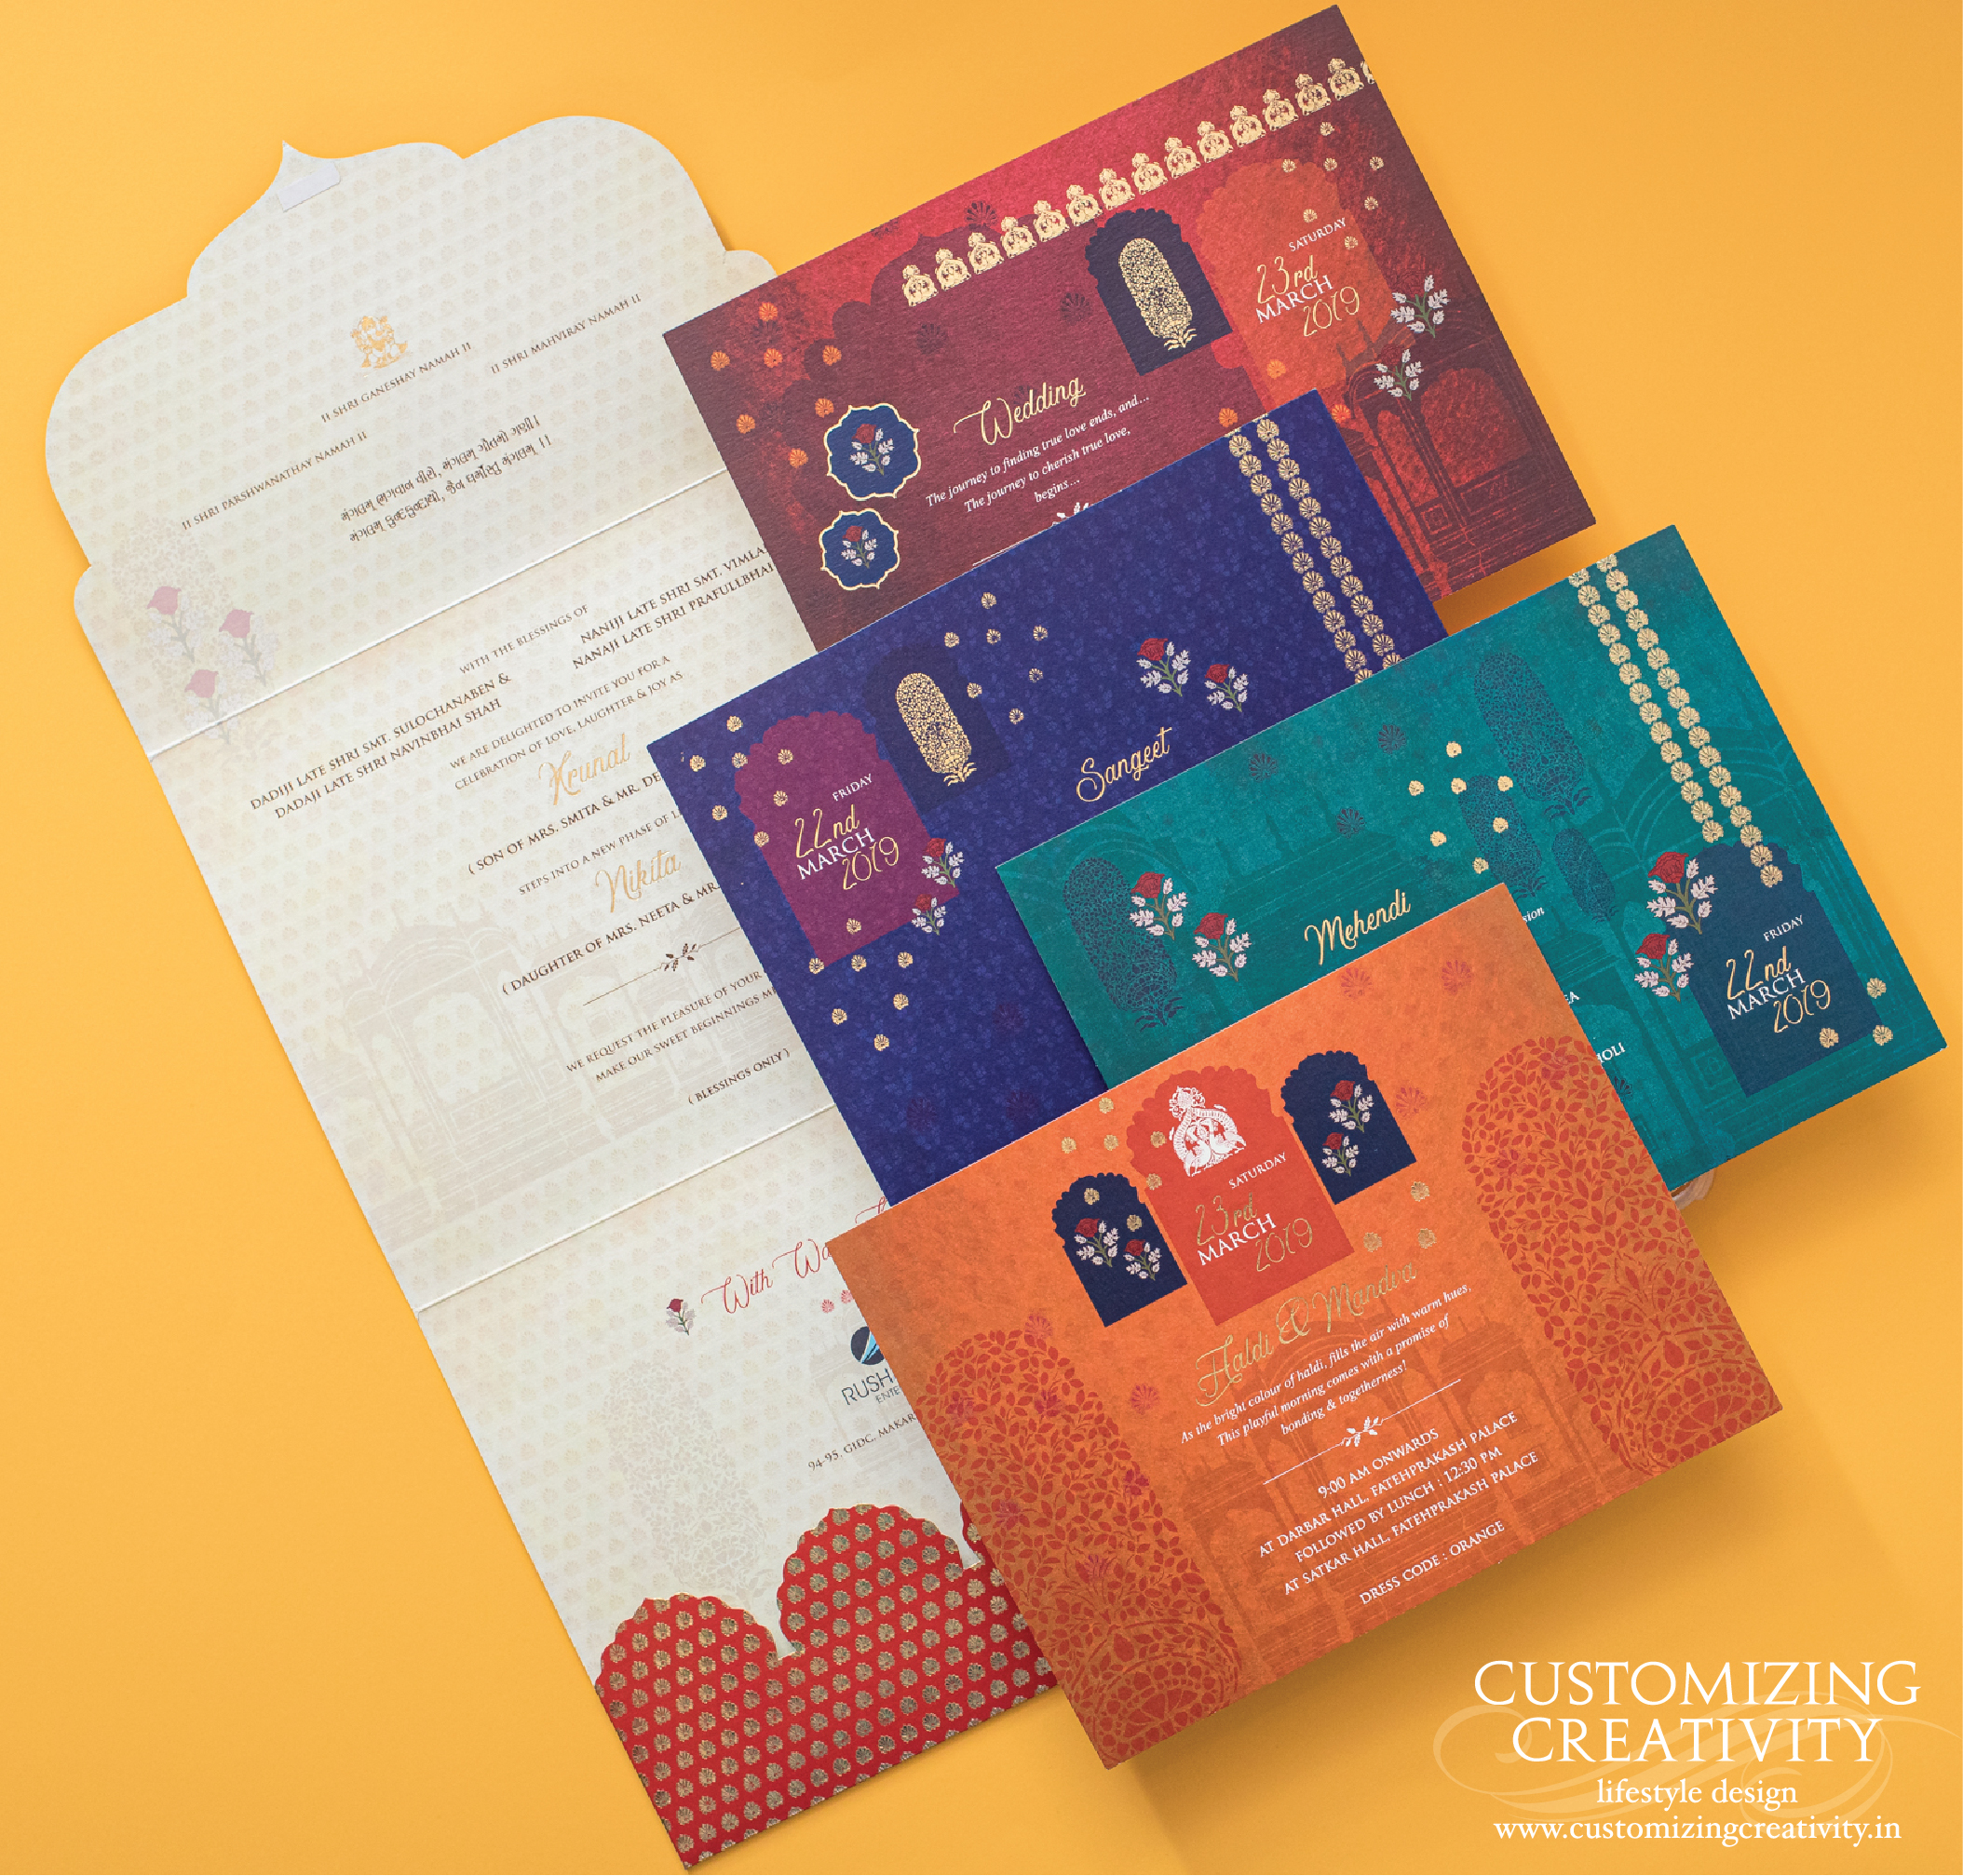
Step 5 : Conceptualise your invitation cards
This is no doubt, the most stressful part for you & the families, but surely the most satisfying exercise at the end of the process!
Out of the box ideas, detailed sketches, going through various design options, paper textures, learning about all the printing techniques – it is all maybe overwhelming but also super exciting!
In tandem with your invitation designer begin working on designs & concepts and leave the creative thinking to the designer!
But in the process, make sure to work backwards on the timelines & as per when would you like to begin sending the cards out.
Step 6 : Start collecting addresses for emailing & mailing
While your cards are in process, you can make use of the time to collect e-mail addresses for the e-invitations & postal addresses for those cards that you are going to be shipping or couriering out – you are eventually going to need them for calligraphy or the address labels.
You may also need to make a separate calligraphy list, as you may choose not to get calligraphy done on every envelope! And that’s ok!
Also ensure, that you have address labels sorted along with the cards so you don’t have to waste time once the cards arrive.
Step 7: Wedding Card delivery!
Yayyy!! Ofcourse you’re totally excited!
There is absolutely no doubt that this is the most exciting & fun part of the whole process!
But soak it & then calm down!
Once your cards arrive there maybe some work you got to do.
For example, assembling of the cards, the calligraphy, revisiting your guest list, etc.- this is the best time to rope in some help from your family or friends & adds an even more of a personal touch to the whole process!
Step 8 : Get set go!
It’s time for the cards to go out!
Whatever your mode of sending maybe (mailing / shipping / hand delivery) – begin doing so as per your set timeline.
This is normally when the chunk of your work gets done & you can relax for a bit once you have sent out the cards.
Oh and wait! Get ready to receive some amazing compliments on your beautiful cards!
Step 9 : Reminders before your BIG DAY
Now that your cards have gone out, you should ideally get going with the rest of the stationery!
We highly recommend, that closer to your functions you should send out a reminder of sorts ( the same look & feel of the overall design should continue) or a brief letter about some vital information on the weather, to-do’s, accommodation, etc. that may not have been included in the main invitation card.
This can be done about 2 – 3 weeks prior to your events beginning.
It will not only serve as a recall, but will also get your guests looking forward to your functions!

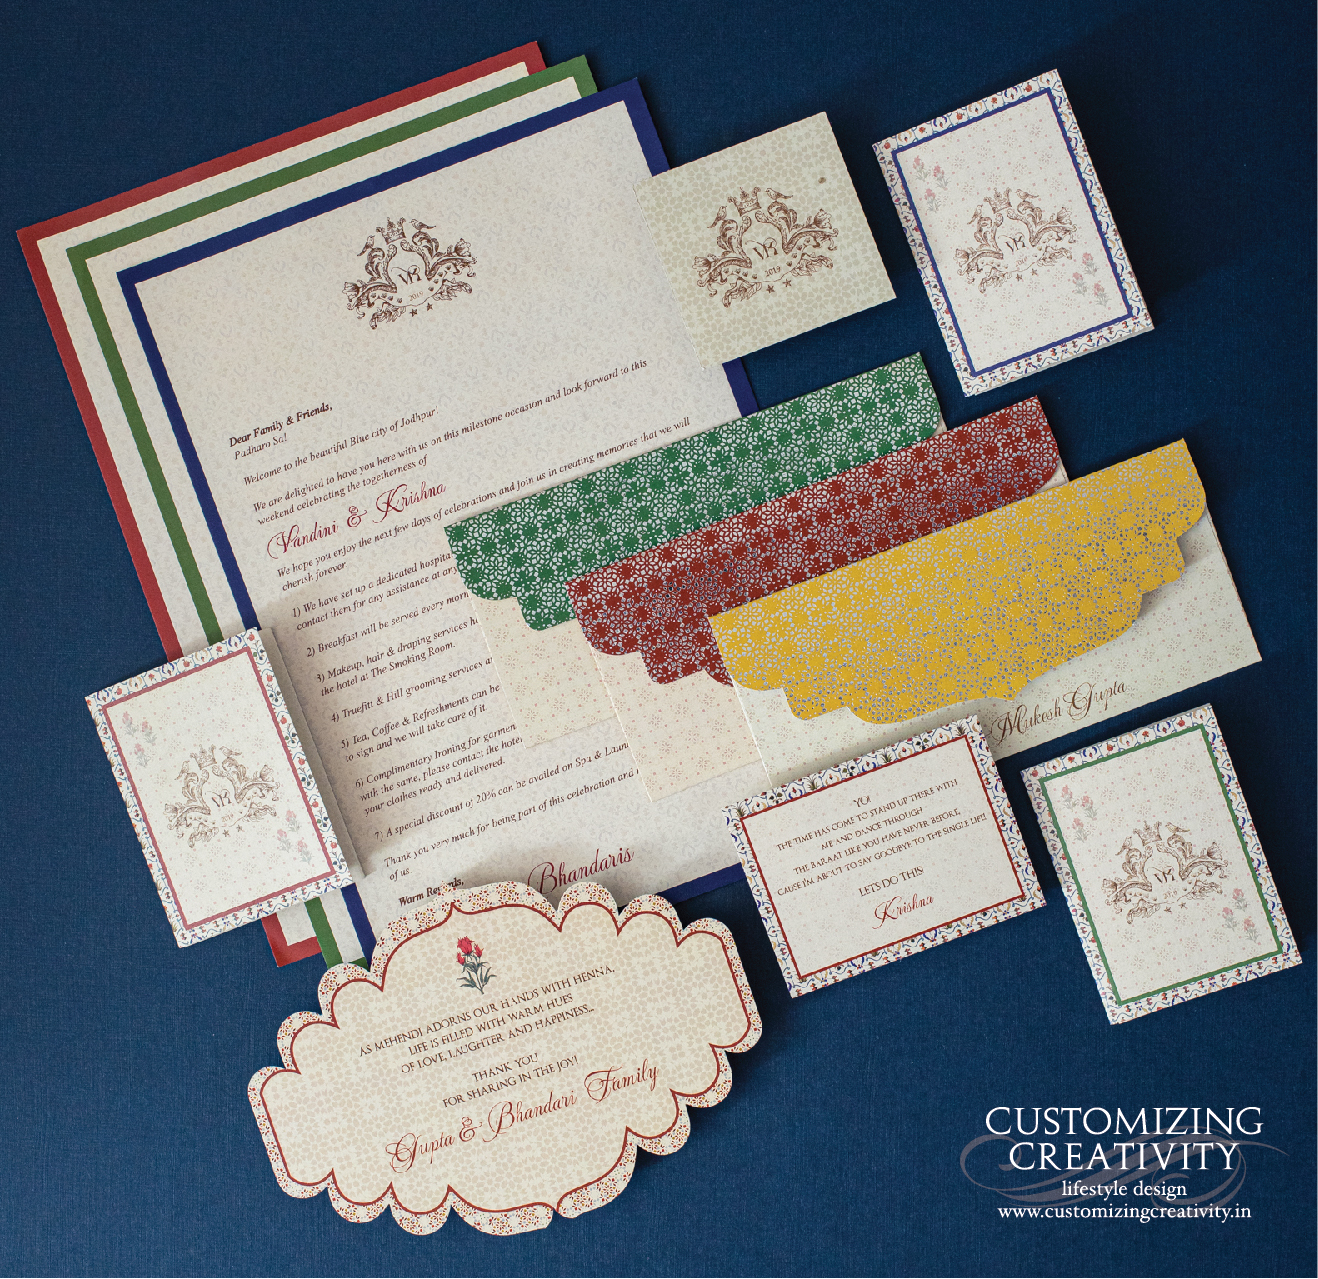
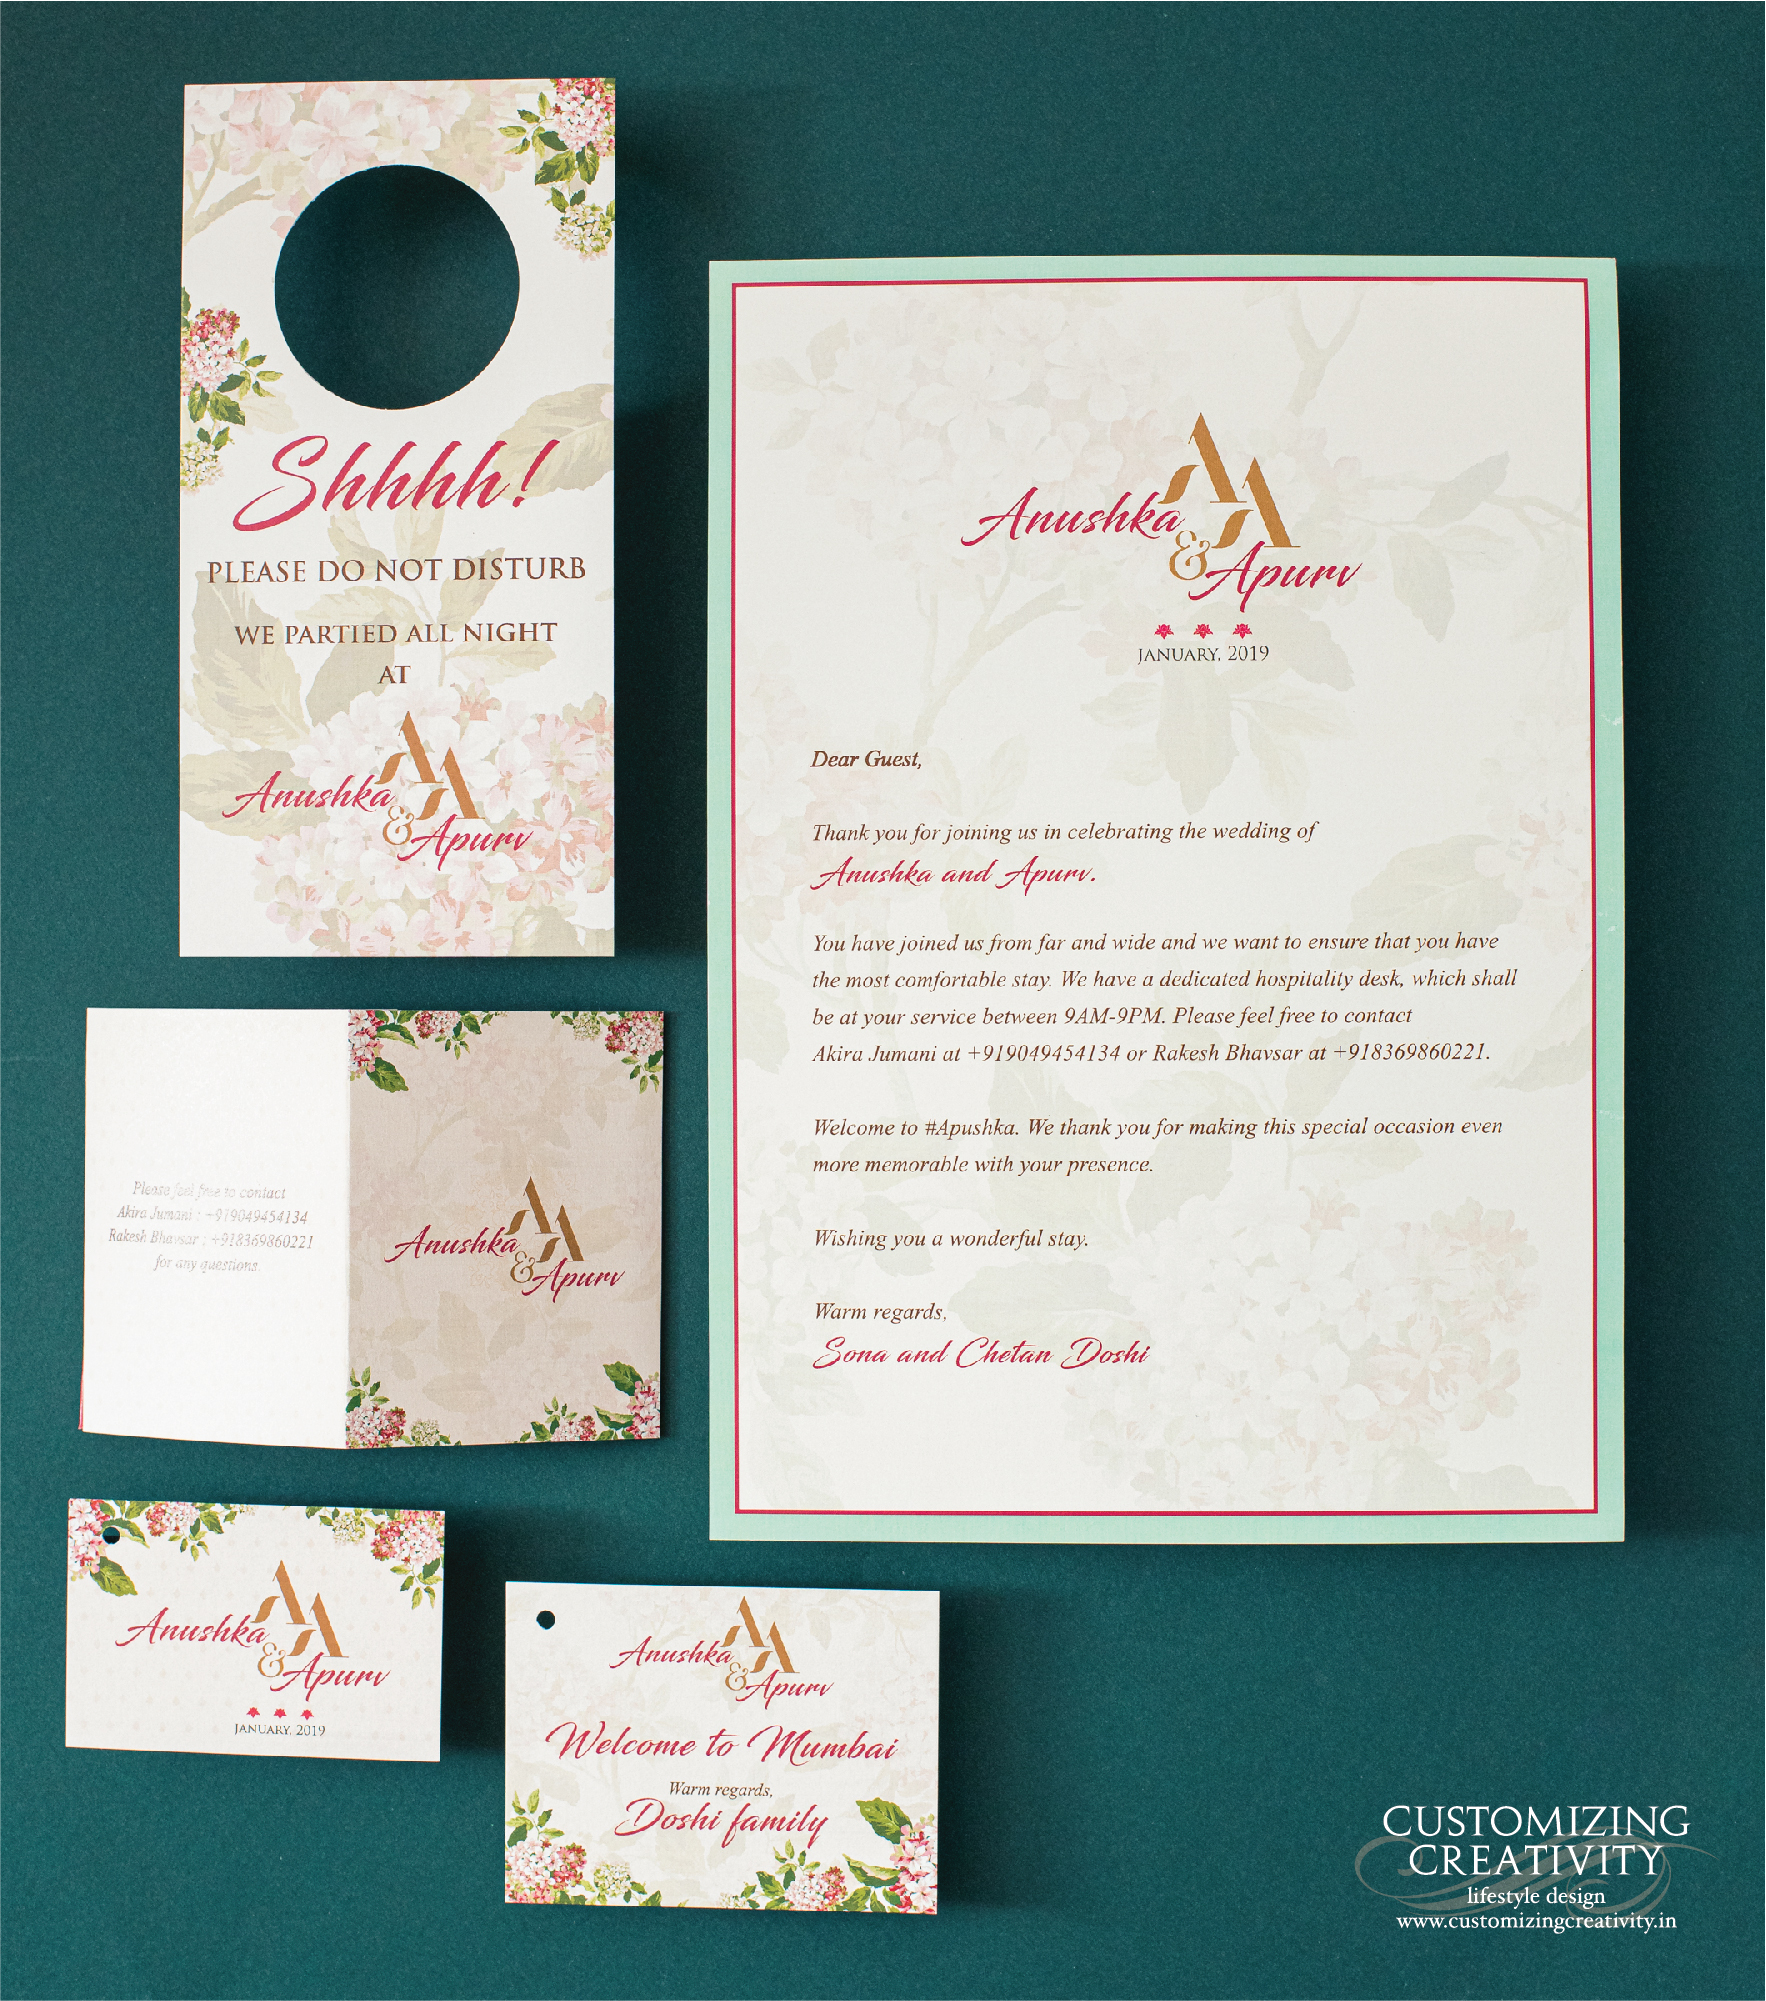
Step 10 : Wedding Stationery
By wedding stationery we mean all the items that you may need at your events – welcome letters, itineraries, menu cards, gift bags, etc.
Just because this is required just before the wedding starts, do not wait till the end minute. The stationery requires you to be relaxed as it needs proof reading, to ensure that there are no errors.
Plan this in advance, as closer to your dates, you’re going to be super busy with last minute errands & may not leave you with enough time to look into the details of the stationery.
Step 11 : Sending out your thank you cards
Sending a cute thank you note post the wedding, is a beautiful gesture you can do for all your guests to truly thank them & let them know how much you loved having them on your big day – but there is absolutely no rush for this!
All your guests do understand that after one of the biggest events of your life, you are going to take time to get back to routine.
Once you are back from your honeymoon & are settling in, you can begin sending out your thank you cards.
#Protips :
– Be sure to include physical or digital RSVP cards/information in the main invitation set if you require them.
– Do not forget to add salutations to each name while making your guest list, as that will determine how their names will be printed on your address label or calligraphed on the envelope.
– Get your Thank you cards printed along with your main wedding cards, so you don’t have to worry about that post the wedding.
Our constant endeavour is to ensure that we’re easing out the whole wedding invitations & stationery process, so that it is all a breeze for YOU – we sincerely hope we’re being of help & are being able to guide you’ll in a way that you can enjoy every bit of it!
There is no right or wrong way of doing this, just do what you feel is right & don’t become a bridezilla over these things 🙂
Don’t rush it , take it easy & enjoy the process!
Should you have any feedback or want us to cover any particular topic, feel free to leave your comments below.
We lovingly invite you to subscribe to our blog for upcoming articles & future blog posts.
For any further questions, we’re just an email away & we will try to help you resolve any queries you may have!
We can be reached on info@customizingcreativity.in
You can take a look at some of our latest work via these links :-
Website : www.customizingcreativity.in
Instagram handle : instagram.com/customizing_creativity
(don’t miss out on our IGTV series for further insight into this topic)
Facebook page : Facebook.com/dishamehtadesign
We’d love for you to #startyournewbeginningwithus
Until next time,
Disha & Harsh Munshaw
Customizing Creativity

One thought on “All about Wedding Invitation and Stationery timelines”